| Welcome | Networks treeview | Organize and edit |
|---|
| Welcome | Networks treeview | Organize and edit |
|---|
When you applied a network discovery, all the domains, workgroups, assets and shared ressources found and select are automatically synchronized in the network treeview. To better organize and analyze your network neighborhood, you can : |
|
|---|---|
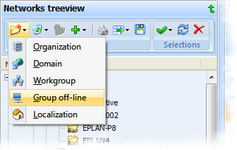 |
Add a folder node (organizations, domains, workgroups, off-line groups and localizations). First, select a parent node in the treeview and click on the 'Add node' button For example, if you want to localize your computers by administrative characteristics (like areas or services) for analysis and comparisons more accurate, you can add levels of folders to separate the different computers of your network with 'localizations' nodes. |
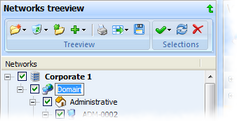 |
Rename a folder node (all except computers and shared ressources nodes). First, select a node to edit in the treeview and click on the 'Rename' line in the contextual menu or perform two left clicks on the same node (like in Windows Explorer). Then, edit the label and press 'Enter' or click outside the edit zone for validate the new label. |
 |
Expand and collapse the nodes automatically This exclusive function lets you expand nodes of the treeview according to the specified criteria. First, select an organization and click on the 'Expand nodes' button |
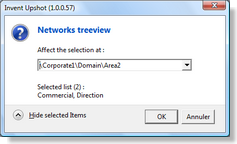 |
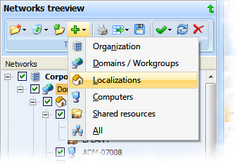
Move a node You can move in one time a single node, several nodes or a folder node with all his children. First, select the nodes to move in the treeview and click on the 'Change the assignment' button |
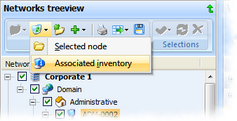 |
Delete a node
You can delete a single node or a folder node with all his children and associated inventories. First, select a node to delete in the treeview and click on the 'Delete selection' button Delete an inventory Furthermore, you can delete only an inventory of a computer node. First, select a computer node and click on the 'Delete selection' button |
© 2009, 2010 Aplixio. All rights reserved |
|